Creating an appointment
To book an appointment, follow these steps:
1. We recommend that you start by finding or adding a customer. It is, however, also possible to add the customer at any time during the process.
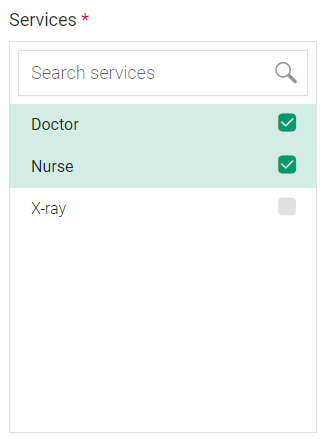
2. Search for, or select, one or several services from the list:
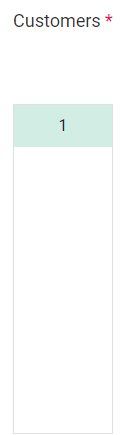
3. Select the wanted number of customers (if applicable):
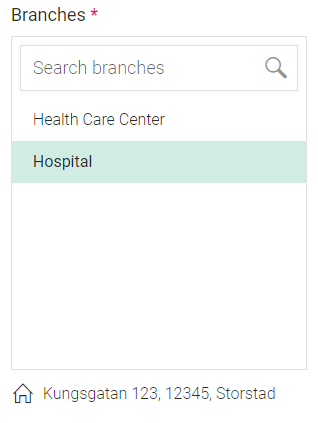
4. Search for, or select the wanted branch from the list:
The address of the selected branch should be displayed below the list.
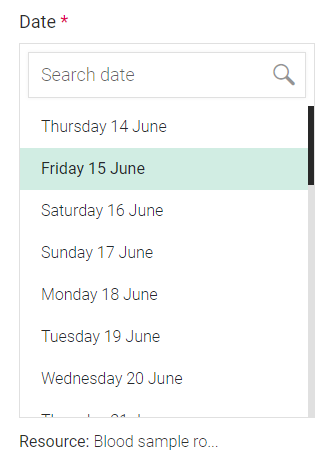
5. Select the wanted date:
Depending on how your system is configured, the resource may be shown beneath the list, once a time has been selected, in the next step.
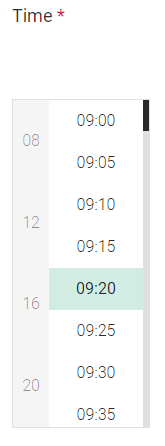
6. Select the wanted time:
It is possible to jump to a specific part of the day by pressing the hours on the side.
If you select a time slot that is no longer available, you will be notified about that:
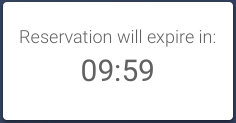
As soon as you select a time slot, a timer will start to count down until the reservation has expired:
When the reservation is about to expire, you will be notified:
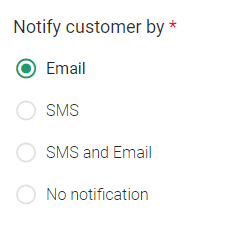
7. Select the wanted notification method:
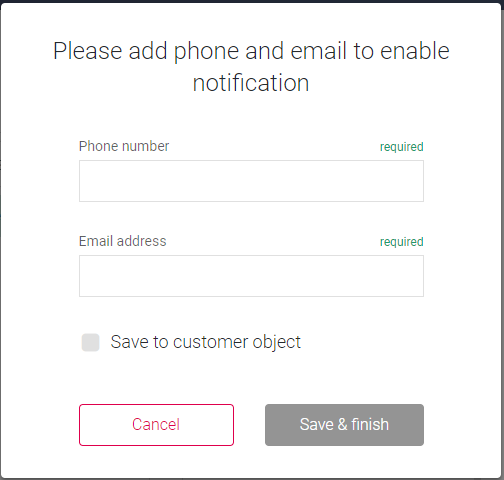
If you select for example SMS, and there is no phone number entered for the customer, a popup window will be displayed:
Here, you have the possibility to add a phone number and/or email address, which either can be used temporarily, or saved to the customer object
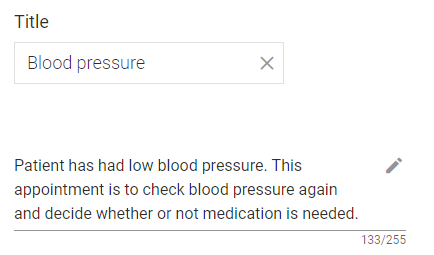
8. Optionally, enter a title and a note for the appointment:
9. If you want to print a customer copy, select the following check box:
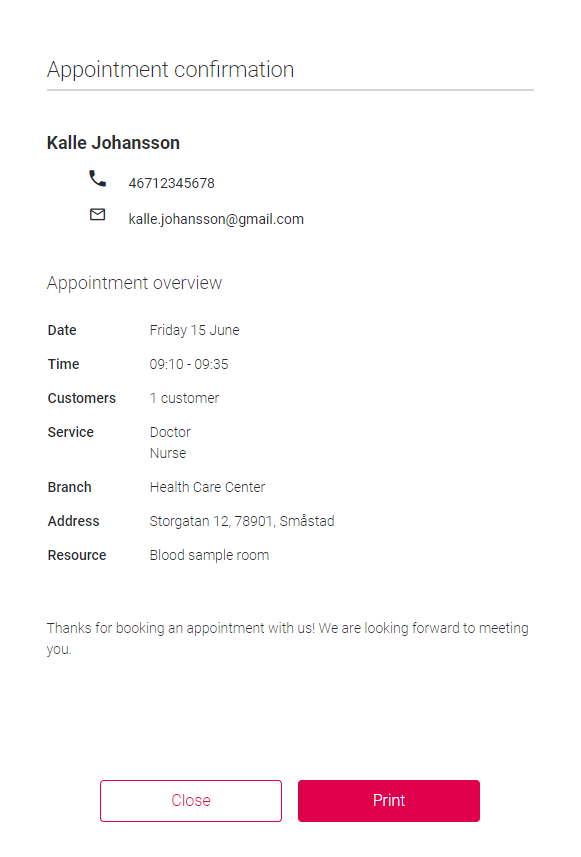
A print preview will be displayed, after you have pressed Confirm in the next step:
Here, you can press Close to return to the booking page, or Print to print the confirmation.

You can always press
Clear all to clear everything that has been entered so far and start afresh. You will be asked to confirm:
10. Once all appointment details have been filled in, click Confirm.